I found the cutest charm tutorial at Paperbabe Stamps for making little flip-flop sandals out of shrink plastic. I can't wait to try making some. Check it out here
reade more...
Showing posts with label Tips and Techniques. Show all posts
Showing posts with label Tips and Techniques. Show all posts


Tattered Florals Challenge


Art Share . . .
I love art tags, and Tammy does some gorgeous ones--and this one is certainly one you will want to make. Check our her tutorial here.
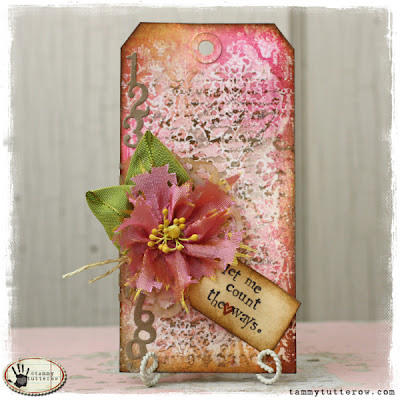
reade more...

Tattered Floral Challenge

The Tattered Florals is one of my favorite dies, and I have used it alot! For making art charms I use the smaller flowers on this die and cut them out of shrink plastic. I love the results! Below is my submission to Tim's challenge. I made it as a tribute to my mom on Mothers Day last year.

Art share . . .
Be sure and check out this gorgeous tag and tutorial on Tammy's blog.
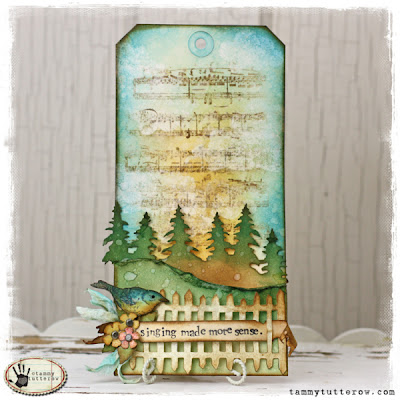
reade more...

Picket Fence Felt Stamping by Tammy Tutterow


Tutorial: Embossed Leaves by Jerri Kay

Jerri Kay is featuring a really cool tutorial on her blog A Touch of Grace for making the embossed leaves (above). You won't believe what she embossed them with--really cool!
Tutorial: Gardenia Flowers by Natasha Naranjo Aguirre

This past week, Natasha shared a tutorial on making these beautiful flowers on her blog. Please visit the following link for step-by-step directions: My Moments of Tranquility by Natasha Naranjo Aguirre.
Simply Renee
I was so inspired this week by Sarah Mullanix's "altered" Clip It Up (photo below). She took an ordinary box and altered it to create a storage area on top of her Clip It Up. See details at http://simplyreneeinc.blogspot.com/

reade more...

I didn't have a box big enough to do anything to my Clip It Up, but got to thinking about my
Inkssentials Craft Spinner sitting there just looking very basic.
Inkssentials Craft Spinner sitting there just looking very basic.
 |
| This is what my spinner looks like, but times 4. I have 4 units stacked on top of each other (this is not recommended, by the way). I think it is recommend that you can stack 3 units safely, but 4 works for me very well -- plus my space is very limited. |
So, here is my "altered" Craft Spinner.
 |
| Fun, huh? All ready to go back to my art studio. |
 |
The new topper on my spinner is made from a 4.5" round chip- board box I had in my stash of stuff. I painted it black and used some Graphic 45 papers to trim it out. I used a matte gel medium to "glue" everything down and a coat on top to finish it off. Next, I added a black ceramic knob to the lid of the box. |
 |
The base of the spinner I painted black and trimmed out with a piece of the same Graphic 45 paper that I used on the topper. |
 |
Look what I put in the box! Here is the PERFECT place to store those extra blending pads. |
 |
| Close up of finished box before adding it to the top of the spinner. I put a hole in the center of the bottom of the box (about 1/4") to slip over the top of the spinner. I didn't replace the "handle" that came with the spinner--I just used a bolt to hold it together. I also put a hole in the center of the lid (about 1/4") for the knob. |
 |
From Tammy's studio . . .

Tammy has a new tutorial on making a window with alcolhol inks. The results are beautiful and it looks like it would really be fun to do. Can't wait until I get a chance to try this.
Organizing Your Space . .

Simply Renee is offering some great ideas for storing and organizing your ribbons and trims on their blog today. Also, check out the cool tips for altering your lace and trims.